Forwarding 2FA Codes Into Your Helpdesk or Ticketing System
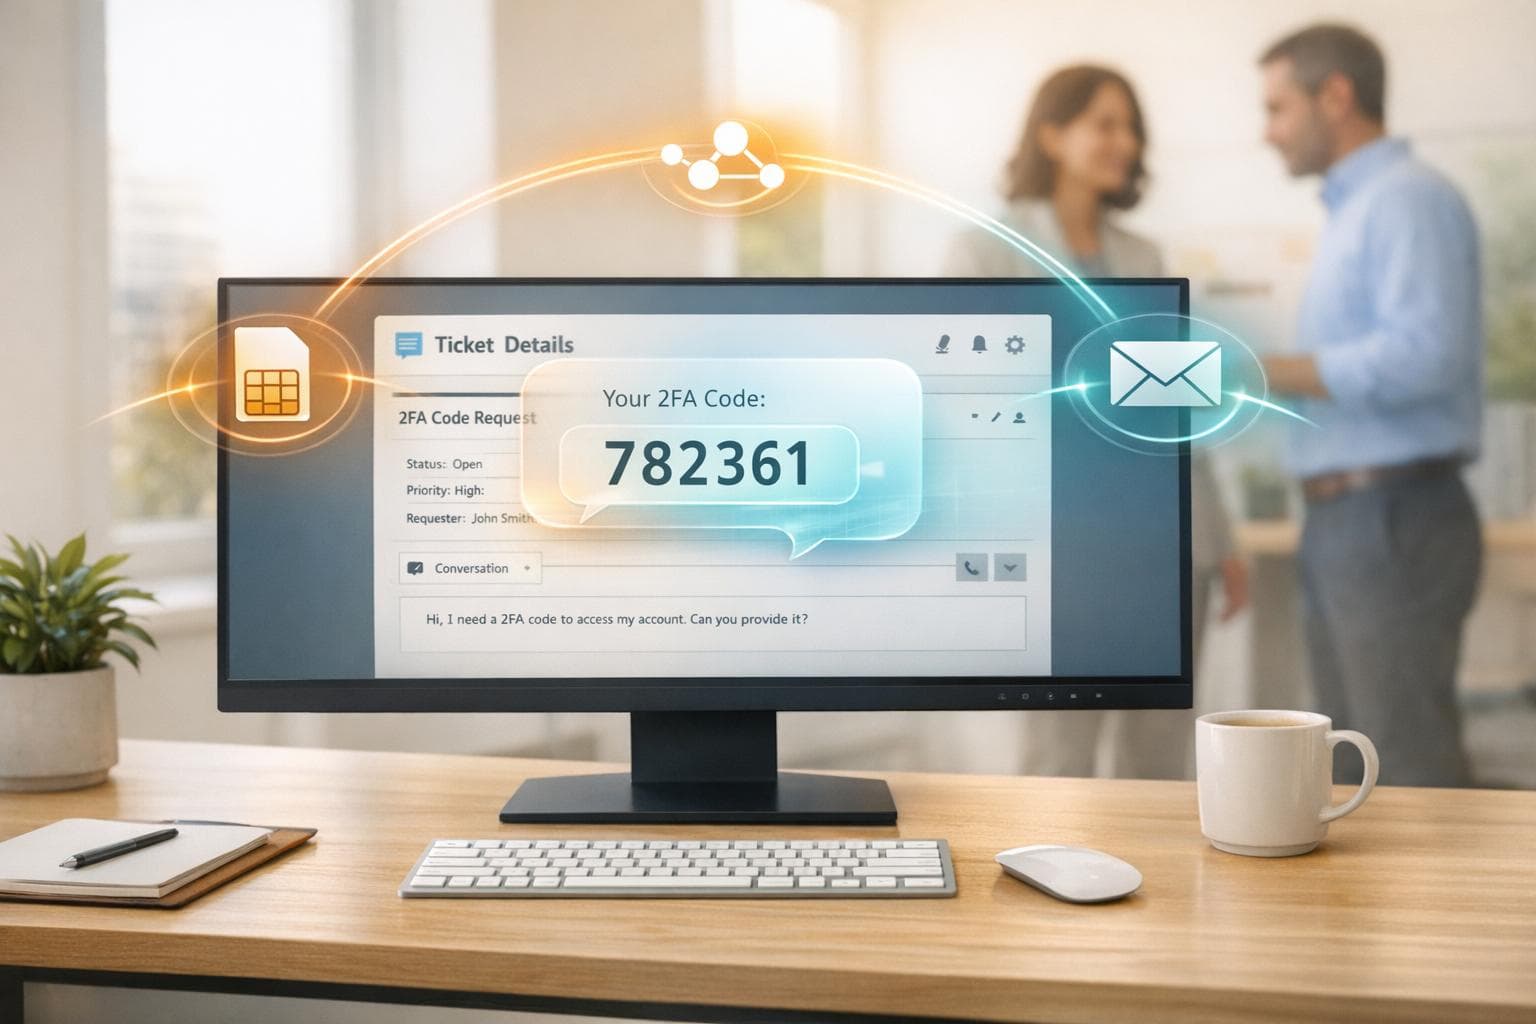
Managing shared accounts with two-factor authentication (2FA) can be a headache, especially when codes are tied to one phone. A simple solution? Forward 2FA codes directly to your helpdesk or ticketing system like Zendesk, Freshdesk, or Jira. This ensures instant access for your team, creates a security audit trail, and simplifies offboarding.
Here’s the process in a nutshell:
- Use a Real-SIM Number: Unlike virtual numbers (e.g., Google Voice), Real-SIM numbers from services like JoltSMS ($50/month) bypass platform restrictions.
- Set Up Webhooks or Email Forwarding: Route incoming SMS codes to your helpdesk via webhooks (for instant delivery) or emails (for simplicity).
- Gather Helpdesk Credentials: Ensure you have API tokens, subdomains, and admin permissions for your platform.
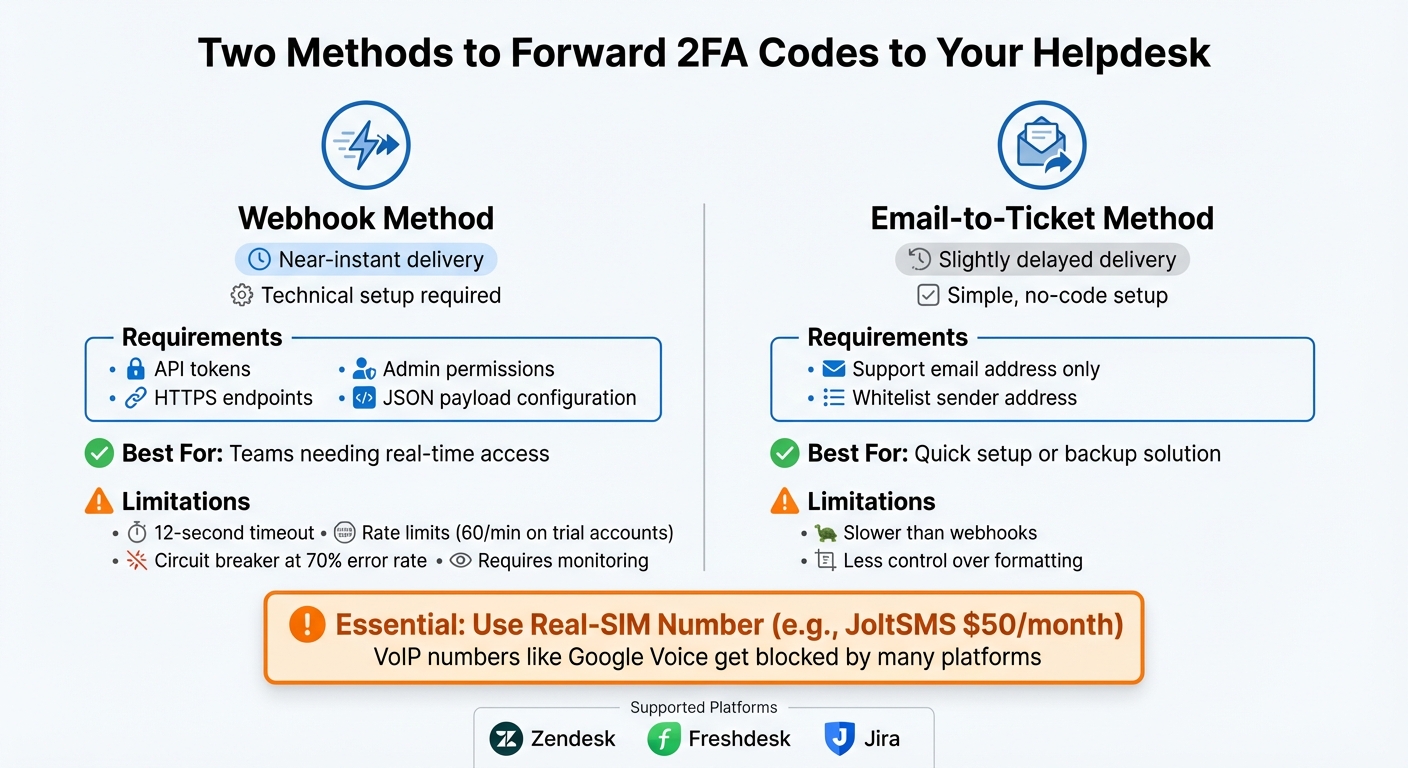
Webhook vs Email Forwarding for 2FA Code Integration Comparison
What You Need Before You Start
To forward 2FA codes effectively, you'll need three key things: a reliable phone number capable of receiving verification codes, a way to route those codes into your ticketing system, and the necessary credentials to tie everything together.
Set Up a Dedicated JoltSMS Number
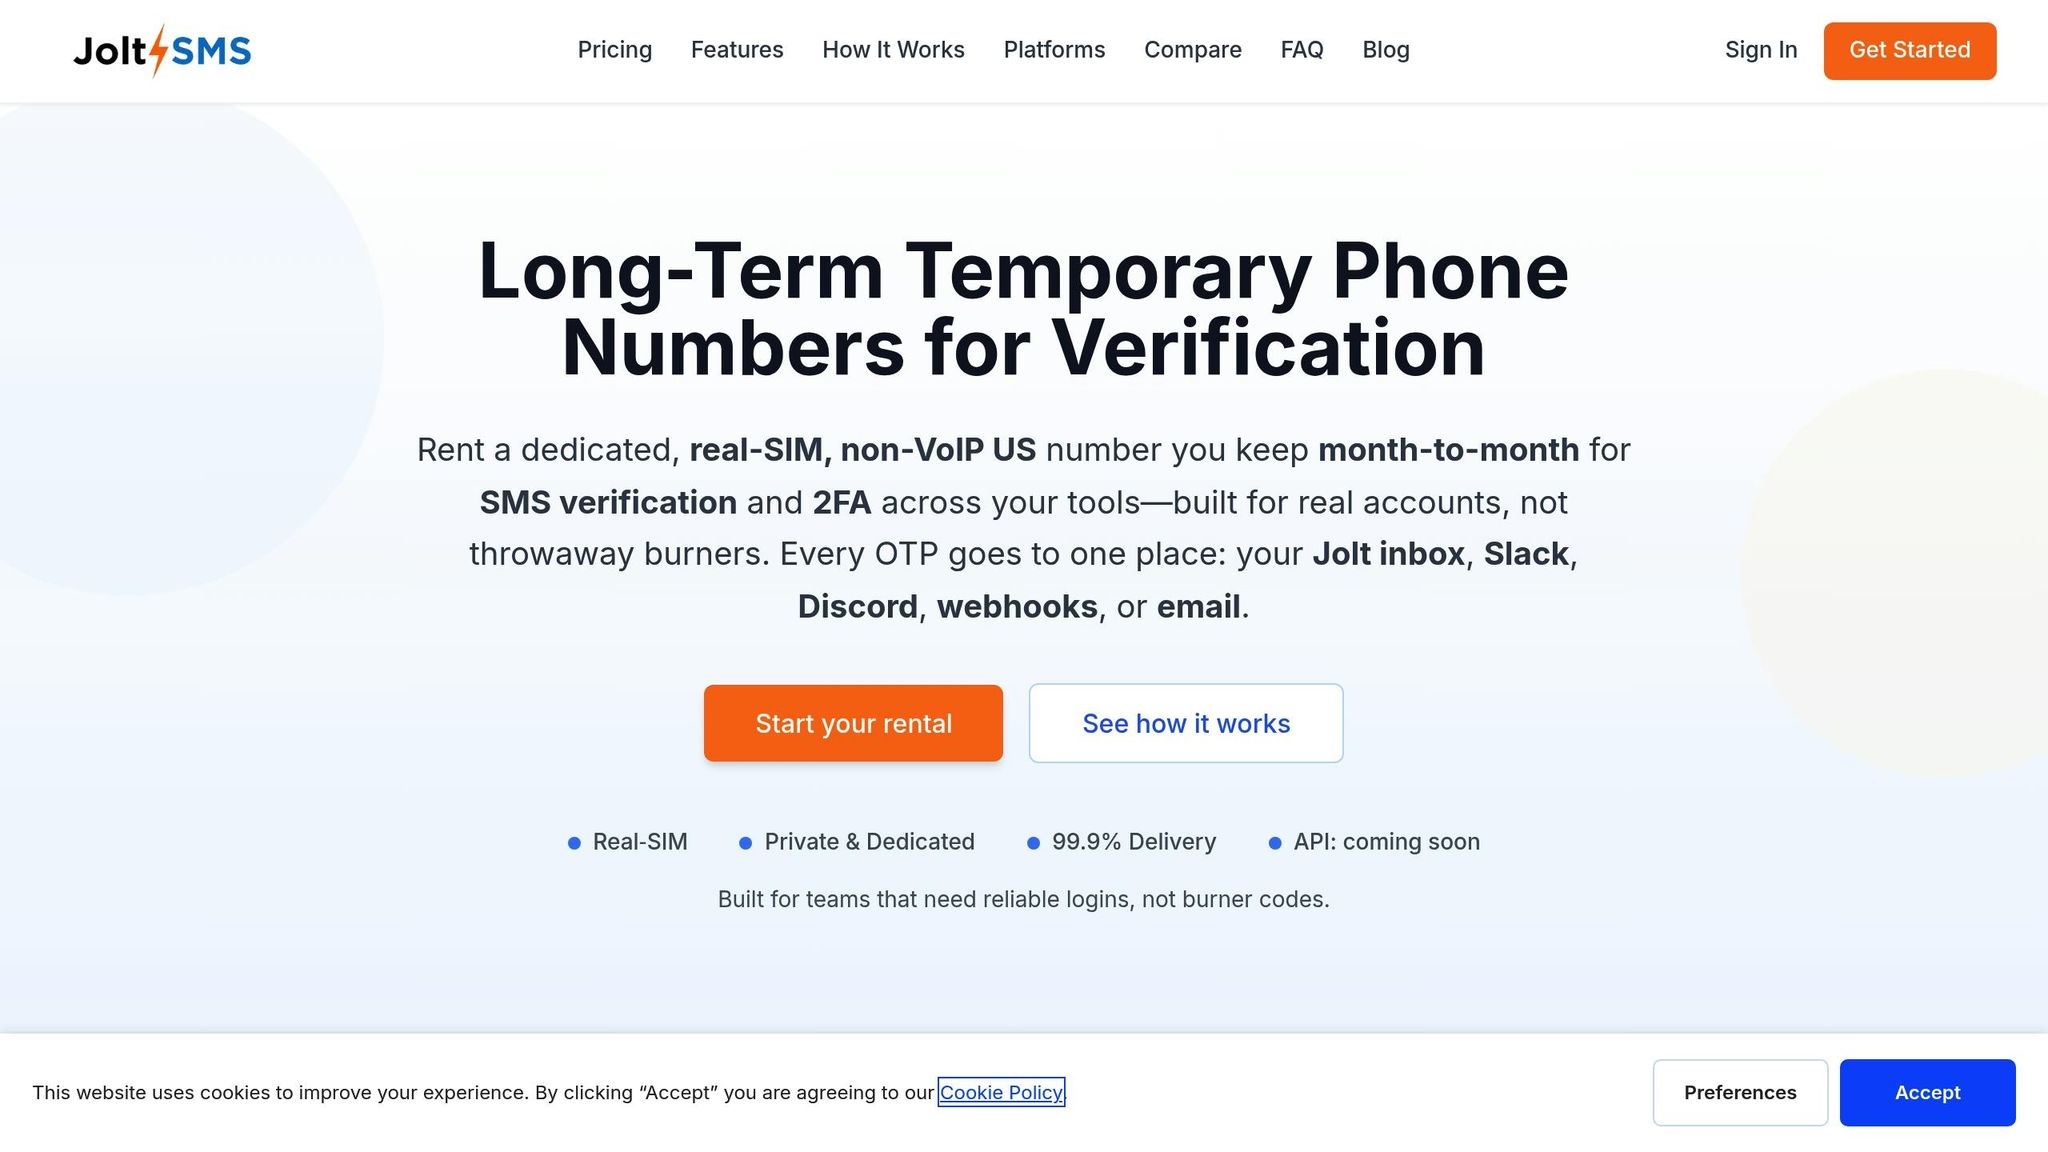
The first step is securing a real-SIM number that won’t get flagged or blocked. While services like Google Voice or OpenPhone might seem convenient, many platforms reject VoIP numbers for 2FA purposes. A real-SIM number ensures you can pass verification checks without issues.
JoltSMS offers dedicated U.S. numbers for $50 per month. These numbers come with unlimited inbound SMS and are exclusively assigned to you. Once you subscribe, you’ll gain access to a dashboard where all incoming codes are displayed in real time. This setup eliminates the hassle of frequently switching numbers, providing a stable and reliable solution.
Turn On Webhooks or Email Forwarding
Within the JoltSMS dashboard, you can activate webhook notifications to automatically send HTTP POST requests to your ticketing system. Alternatively, enable email forwarding to route SMS content directly to your support address (e.g., [email protected]). For secure data transmission, always use HTTPS endpoints. [1]
Gather Your Helpdesk Credentials
To complete the integration, you’ll need credentials specific to your ticketing system. For example:
- Zendesk: Gather your subdomain, admin email, and API token. Use the format
email_address/tokenfor basic authentication. [1] - Freshdesk: Retrieve a callback URL from the Workflow Automator, configured for POST with JSON encoding. [5]
- Jira: Head to Operations > Integrations to generate a unique integration endpoint URL. [5]
If you’re not an admin, make sure your user role includes permissions for creating webhooks. As highlighted in Zendesk’s documentation:
"You must be an admin or an agent in a custom role with permission to create webhooks." – Zendesk Documentation Team [1]
Also, double-check your account tier for any restrictions on webhook usage.
With a dedicated number, proper forwarding settings, and the right credentials in hand, you’ll be ready to integrate 2FA codes seamlessly into your ticketing system.
Forwarding 2FA Codes to Zendesk
Zendesk provides two main ways to route incoming OTP codes from JoltSMS: webhook integration and email-to-ticket conversion. The webhook method ensures almost instant delivery of codes, while the email option serves as a straightforward backup that doesn’t require technical setup. Here’s how to get started with both options.
Set Up Webhooks for Zendesk
To configure webhooks in Zendesk, follow these steps:
- Log into the Zendesk Admin Center.
- Navigate to Apps and integrations > Webhooks and select Create webhook.
- Fill in the settings as shown below:
| Webhook Component | Required Value/Setting |
|---|---|
| Endpoint URL | https://{your_subdomain}.zendesk.com/api/v2/tickets.json |
| HTTP Method | POST |
| Request Format | application/json |
| Authentication | Basic Auth |
| Username | {your_email}/token |
| Password | {Your_Zendesk_API_Token} |
Next, go to the JoltSMS dashboard, choose your dedicated number, and enable Webhook Notifications. Paste the Zendesk endpoint URL into the designated field. Once this is set up, any 2FA code received by JoltSMS will be automatically sent to Zendesk, creating a new ticket.
To ensure everything works, test the webhook using Zendesk’s Test Webhook tool or a tool like Postman. Keep in mind that trial accounts may have usage limits and timeouts [1] [2] [3].
Zendesk uses a circuit breaker system to manage webhooks. If 70% of requests fail within five minutes or if more than 1,000 errors occur in that time frame, the webhook will be paused [3]. You can monitor webhook activity logs in the Admin Center, where logs are kept for seven days [3] [4].
Once your webhook is set up, consider configuring the email-to-ticket feature as a backup.
Backup Option: Email-to-Ticket Feature
For those who prefer a simpler setup or need a fallback, Zendesk’s email-to-ticket feature is an excellent option. Here’s how to set it up:
- Go to Channels > Email in the Zendesk Admin Center.
- Find your default support email address (usually
[email protected]).
In the JoltSMS dashboard, enable Email Forwarding for your dedicated 2FA number and input your Zendesk support email as the destination. This will ensure every incoming SMS creates a ticket, with the OTP included in the description. Send a test message and make sure to whitelist the JoltSMS address to confirm everything is working correctly.
While email delivery might be slightly slower than webhooks, this method doesn’t require API tokens or custom headers. It’s a great option for teams looking for a quick, no-code solution or a reliable backup when webhook integrations face downtime.
Forwarding 2FA Codes to Freshdesk
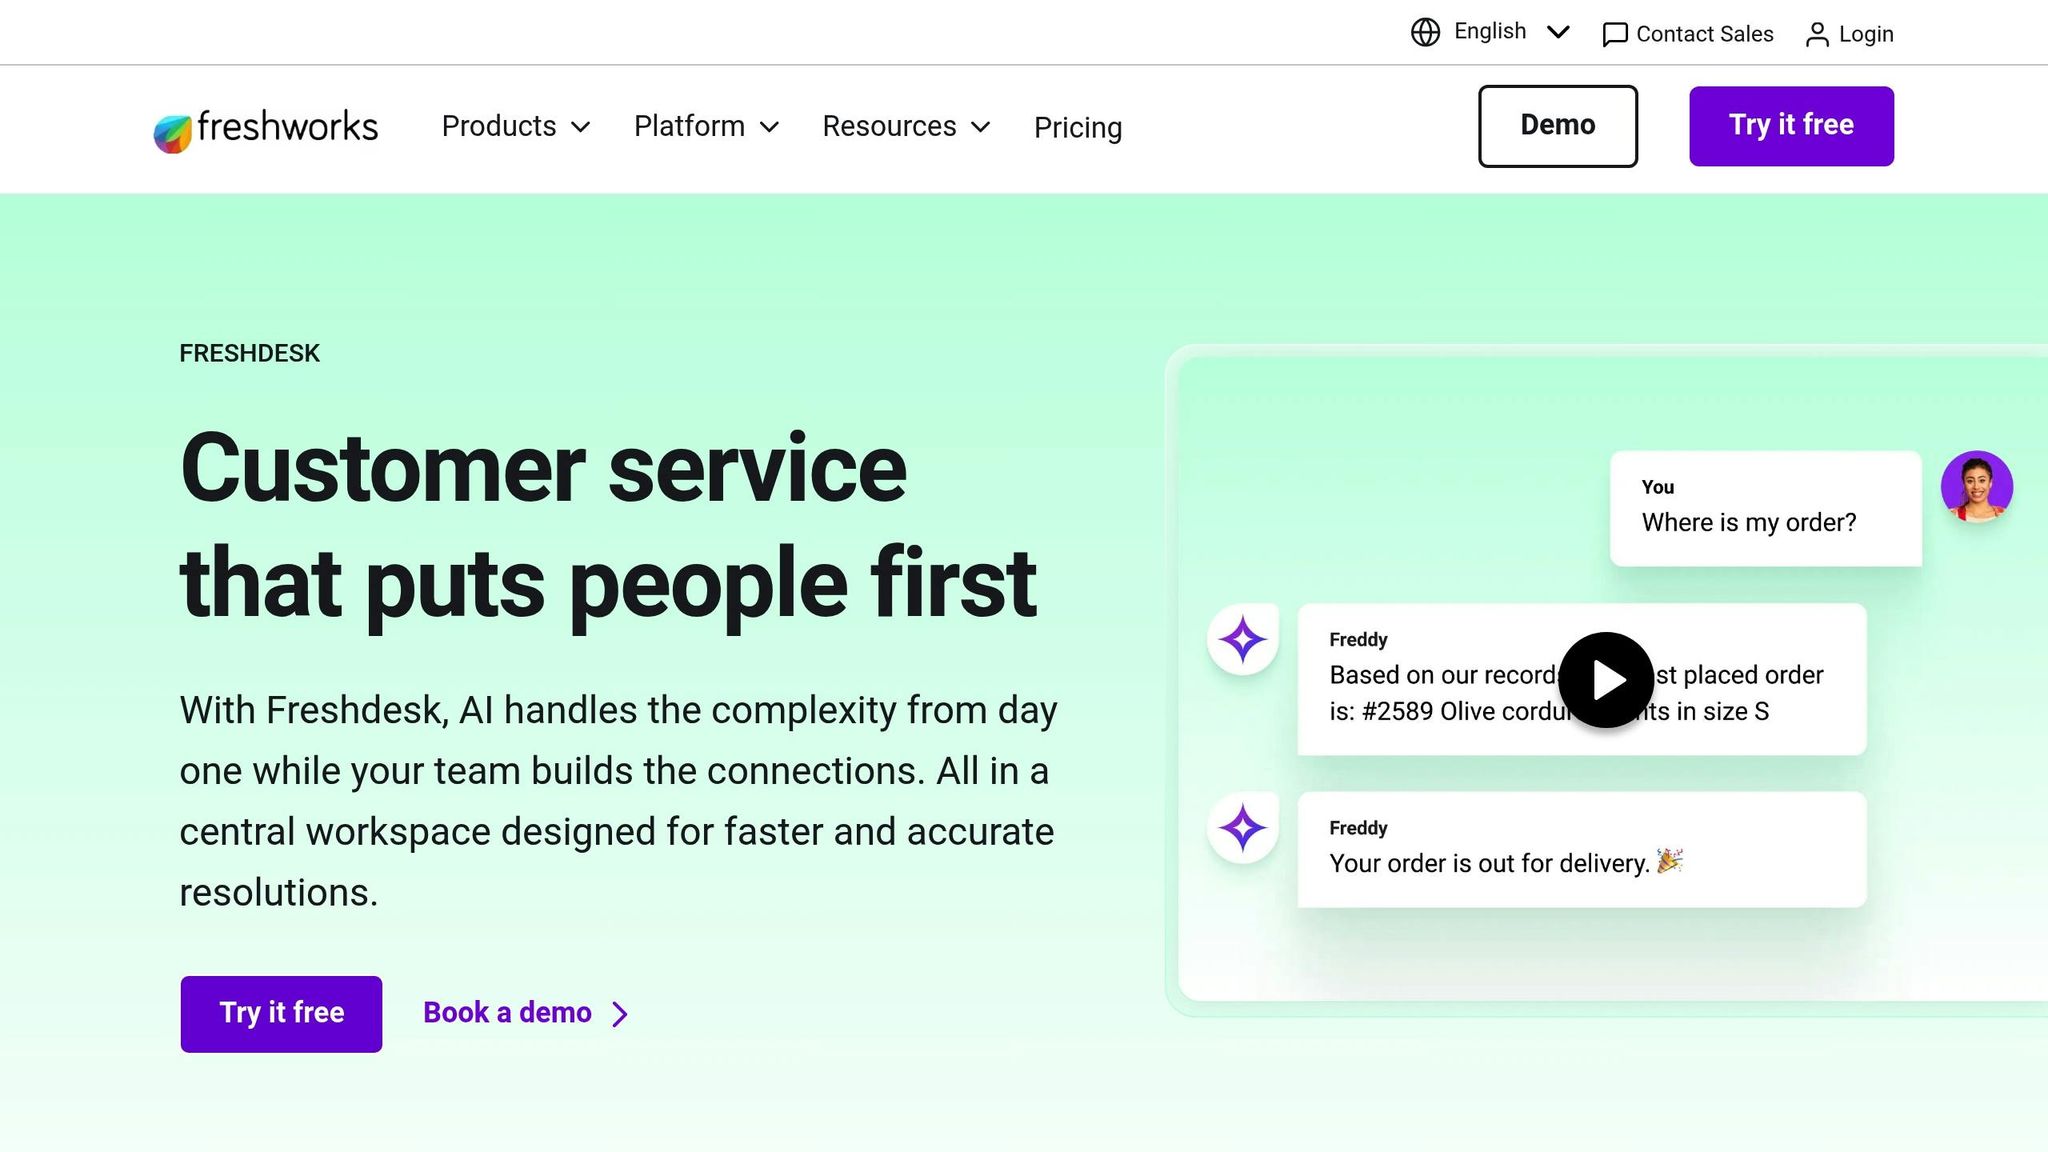
Freshdesk makes it easy to manage OTPs (One-Time Passwords) by using either webhooks or email-to-ticket conversion. Webhooks provide near-instant delivery, while email forwarding offers a simple, code-free setup. Both methods ensure your team can handle verification requests efficiently without jumping between platforms.
Here’s how you can configure Freshdesk for seamless OTP ticket creation.
Setting Up Freshdesk Webhooks
To send SMS data directly to Freshdesk, you’ll need to connect JoltSMS webhooks with Freshdesk's API. Follow these steps to get started:
-
Get Your Freshdesk API Key:
- Log into your Freshdesk account.
- Go to Profile Settings > API Key.
- Copy your API key, add a colon (
:) to the end, and encode it in Base64 (e.g.,your_api_key:X). Use this encoded key in JoltSMS.
-
Configure Webhooks in JoltSMS:
- Open the JoltSMS dashboard and select your dedicated number.
- Enable Webhook Notifications.
- Enter the Freshdesk API endpoint:
https://{your_domain}.freshdesk.com/api/v2/tickets. - Use the HTTP method
POSTand include this header:Authorization: Basic {your_base64_encoded_key}.
Once set up, any incoming 2FA code will automatically generate a new ticket in Freshdesk, with the OTP included in the ticket description. Test the setup by sending a sample SMS to ensure everything is working smoothly.
For a simpler alternative, you can enable Email Forwarding. By forwarding incoming SMS messages to your Freshdesk support email, each message will automatically create a ticket without additional configuration.
Real-Time Updates for Better Response
Webhooks ensure OTP codes are delivered to Freshdesk almost instantly, allowing your team to respond quickly to verification requests.
To enhance responsiveness, you can configure JoltSMS to send webhook notifications to multiple destinations. For example, route the webhook to both Freshdesk and a team communication tool like Slack or Discord. This way, your team gets immediate alerts while still maintaining a record in Freshdesk. The flexibility of the JoltSMS dashboard lets you customize how notifications are handled.
This setup is particularly useful for managing temporary access, such as for contractors or short-term employees. If someone leaves the company or their engagement ends, you can revoke their access to the shared JoltSMS number, preventing unauthorized use. Combined with Freshdesk’s detailed ticket history, this approach provides a reliable audit trail for security and compliance purposes.
sbb-itb-070b8f8
Forwarding 2FA Codes to Jira
Jira is designed to track work, not SMS messages. However, by using JoltSMS webhooks, you can send incoming 2FA codes directly into Jira issues as comments. This setup is especially useful for DevOps teams managing accounts like AWS or Stripe, where every verification request needs to be documented for auditing purposes.
Unlike email-to-ticket systems, Jira requires its REST API to create comments. Once set up, OTP codes will appear instantly in the appropriate issue as comments.
Setting Up Webhooks for Jira Issues
To integrate SMS data into Jira, you’ll need to connect JoltSMS with Jira’s REST API. Here’s how to get started:
-
Generate Your Jira API Token: Log in to your Atlassian account and go to Security > API Tokens. Create a new token and copy it immediately, as it won’t be shown again. For authentication, encode your email and API token in Base64 using this format:
[email protected]:your_api_token. -
Configure the Webhook in JoltSMS: In your JoltSMS dashboard, select your dedicated number and enable Webhook Notifications. Set the Jira comment endpoint as:
https://your-domain.atlassian.net/rest/api/2/issue/{issueKey}/comment.
Use thePOSTmethod and include this header:
Authorization: Basic {your_base64_encoded_token}.
Map the SMS content to Jira’s JSON body field. This ensures incoming 2FA codes are posted as comments to the correct Jira issue. To test, send a sample SMS to your JoltSMS number and check the issue’s comment section.
Note: Webhook requests will time out after 12 seconds and can retry up to five times [3]. Always use HTTPS endpoints to maintain secure data transmission.
This integration helps centralize verification management, making it easier to track and audit across platforms.
Automating Tags for Verification Tickets
Adding tags automatically to issues containing OTP codes saves time and keeps your audit trail organized. Manually searching through comments for verification codes is inefficient, so take advantage of Jira’s automation features to simplify this process.
Go to Project Settings > Automation and create a new rule. Set the trigger to Issue Created, and add a condition to check the Summary or Description fields for keywords like "OTP", "Verification Code", or "JoltSMS." For the action, choose Edit Issue > Labels > Add, and use a consistent label like 2fa-otp.
"Labels are free text you may have multiple variations for the same word, which may prove difficult when you search the data." – Gaurav, Community Champion [6]
To keep things clean, stick to one naming convention - use 2fa-otp instead of mixing terms like 2FA, 2fa, or two-factor. This ensures accurate filtering and reporting across your Jira instance.
For teams handling multiple services, use if/else blocks in a single rule to apply specific labels based on the sender. For instance, tag AWS-related codes as aws-2fa and Stripe codes as stripe-2fa. This method is far more scalable than creating separate rules for each service [6].
If you’re forwarding OTPs to multiple Jira projects, configure the rule under Global Automation settings instead of project-level automation. This way, the tagging logic applies across your entire Jira instance without duplicating configurations [7].
Fixing Common Forwarding Problems
Here’s how to troubleshoot and resolve the most frequent forwarding issues based on the configuration steps mentioned earlier.
Delayed or Missing OTPs
If one-time passcodes (OTPs) aren’t showing up in your helpdesk, start by checking the webhook activity log in your JoltSMS dashboard. This log tracks the status of every forwarding attempt for the past seven days. Look for statuses such as failed, timeout, or circuit broken to pinpoint the root cause [3][4].
"A best attempt is made to deliver webhook events for actions in Zendesk to users as near to real-time as possible. However, sometimes there is a delay." - Zendesk Documentation [1]
Delays can happen because webhooks are queued instead of being sent immediately. If your endpoint takes too long to respond, the system may activate a circuit breaker. This mechanism kicks in after reaching a 70% error rate or encountering 1,000 errors within five minutes [3]. When triggered, requests are paused for five-second intervals.
| Issue | Potential Cause | Diagnostic Step |
|---|---|---|
| Delayed OTPs | Webhook Queuing or Throttling | Check invocation logs for "throttled" or "accepted" statuses [3][4]. |
| Missing OTPs | Circuit Breaker Triggered | Look for "circuit broken" status in the activity log [3]. |
| Connection Error | SSL/TLS Issues | Verify HTTPS certificates and check for "unknown authority" errors [1]. |
| Timeout | 12-second limit exceeded | Confirm the endpoint responds within the timeout window [3]. |
If you’re using a trial account, you might hit rate limits - typically capped at 60 invocations per minute. This can cause codes to either queue or drop [1][2]. Double-check that your authentication credentials match exactly what’s set up in JoltSMS. For Zendesk Basic Auth, use the format {email_address}/token as your username [1][4].
Webhook Payload Mismatches
Payload mismatches occur when the data format sent by JoltSMS doesn’t align with what your helpdesk expects. For example, if the Content-Type header doesn’t match the payload format (e.g., JSON), the helpdesk will reject the message. Zendesk supports JSON, XML, and form-encoded content, but event-based webhooks must use JSON [4][1].
Failed requests are automatically retried by Zendesk: up to three times for HTTP 409, 429, or 503 errors, and up to five times for timeouts [3]. If retries fail, the issue is likely a permanent mismatch. Keep payloads under 256 KB, as exceeding this limit will cause delivery to fail [1].
Use the Test Webhook feature in your helpdesk’s admin panel to send a sample 2FA code and review the server’s response [1]. If you’re forwarding to an external API, tools like Postman can help validate your JSON structure independently [2].
Once the payload structure is confirmed, proceed with testing the endpoint for real-time performance.
Testing and Debugging Endpoints
Wrap up your setup by testing with sample SMS messages. Send a test code to your JoltSMS number and verify it appears in the correct helpdesk ticket or issue [3].
Be on the lookout for "silent" failures - situations where the endpoint returns HTTP 200 OK but doesn’t actually process the code. These failures often stem from internal rate limits or authentication problems that don’t trigger an error response [8]. To catch these, compare your endpoint’s logs with the JoltSMS activity logs.
Platforms like Zendesk require valid SSL certificates (e.g., from Let's Encrypt) and will reject connections if there are certificate authority errors. Finally, ensure your endpoint is idempotent - this means it should handle duplicate webhook deliveries without creating multiple tickets for the same code [3].
For more troubleshooting tips, check out the Missing or Delayed Codes troubleshooting guide.
Conclusion
Routing 2FA codes directly into your helpdesk or ticketing system simplifies account access for your team. With platforms like Zendesk, Freshdesk, or Jira, authorized agents can quickly retrieve verification codes without hassle. This approach eliminates account lockouts when employees leave, removes delays during off-hours, and ensures a complete audit trail to meet compliance requirements. It’s a seamless extension of the setups we’ve covered earlier.
To ensure this process works smoothly, it’s critical to rely on real-SIM technology rather than VoIP numbers. Why? Real-SIM numbers avoid issues like carrier lookup rejections, ensuring codes are delivered promptly and without fail.
"SMS isn't the ideal solution. But, SMS-based two-factor authentication is much, much better than nothing." - Chris Hoffman, Editor, How-To Geek [9]
FAQs
Why is using a real-SIM number better for receiving 2FA codes?
Using a real-SIM number means 2FA codes are sent directly to a physical SIM card, adding an extra layer of security and reliability. Unlike VoIP numbers, which can be blocked by platforms or are more susceptible to interception, real-SIM numbers are widely accepted and much harder to exploit through spoofing or SIM-swapping attacks.
This ensures your team can consistently receive one-time passwords (OTPs) for important accounts, keeping operations seamless and workflows manageable in tools like Zendesk, Freshdesk, or Jira.
What are the advantages of forwarding 2FA codes to your helpdesk system?
Forwarding 2FA codes to your helpdesk system can simplify your team's workflow and improve efficiency. By routing OTPs (One-Time Passwords) into platforms like Zendesk, Freshdesk, or Jira using email or webhooks, support teams can centralize account access activities. This setup not only keeps verification codes secure and accessible but also creates an audit trail, which is helpful for maintaining security and meeting compliance standards.
Integrating 2FA codes with your helpdesk also makes collaboration easier and speeds up issue resolution. Support agents can access OTPs directly within the platform, avoiding the hassle of switching between devices or apps. This streamlined process enhances security by enabling real-time monitoring of access attempts and simplifies tasks like offboarding or managing temporary access. In short, this integration helps your team work faster, stay secure, and operate more smoothly.
What can I do if my 2FA codes are delayed or not arriving?
If you're experiencing delays or missing 2FA codes, webhooks can be a game-changer. By setting up webhooks, you can automatically forward these events to your helpdesk or ticketing system - think Zendesk, Freshdesk, or Jira. This setup helps your support team monitor and address issues like delayed or missing codes in real-time, ensuring quicker responses and better accountability.
Integrating webhooks into your helpdesk also creates a detailed log of OTP deliveries, making it easier to spot delays and troubleshoot effectively. To improve reliability, you might want to add retry mechanisms. This ensures codes are delivered promptly, reducing user frustration and lightening the load on your support team.